基于現(xiàn)有的Linux LiveCD加入自己的內(nèi)核和ramfs
來源:程序員人生 發(fā)布時(shí)間:2015-03-09 08:20:16 閱讀次數(shù):3354次
原LiveCD:install-amd64-minimal⑵0130711.iso (gentoo)
工作系統(tǒng):CentOS
1.復(fù)制原LiveCD的內(nèi)容:
[root@localhost Downloads]# mkdir /mnt/livecd
[root@localhost Downloads]# mkdir /mnt/img
[root@localhost Downloads]# mount -t iso9660 -o loop install-amd64-minimal⑵0130711.iso /mnt/livecd/
mount: /dev/loop0 is write-protected, mounting read-only
<pre name="code" class="html">[root@localhost Downloads]# cp -r /mnt/livecd/* /mnt/img
2.切換到/mnt/img, 查看1下/mnt/img下面的內(nèi)容。
[root@localhost img]# ls
gentoo.efimg image.squashfs livecd README.txt
gentoo.efimg.mountPoint isolinux
3.把自己的內(nèi)核和ramfs放入到isolinux文件夾里。這里內(nèi)核是bzImage, ramfs是ramfs.tar.gz
[root@localhost img]# ls isolinux/
boot.cat elilo.efi F4.msg F7.msg isolinux.bin memtest86
boot.msg F2.msg F5.msg gentoo isolinux.cfg ramfs.tar.gz
bzImage F3.msg F6.msg gentoo.igz kernels.msg System.map-gentoo
4.修改isolinux.cfg, 加入1項(xiàng)啟動(dòng)(其中append那1項(xiàng),可以根據(jù)自己需要來增減參數(shù)):
label hello-test
kernel bzImage
append root=/dev/ram init=/linuxrc initrd=ramfs.tar.gz
5.回到img,制作自己的iso文件
mkisofs -R -b isolinux/isolinux.bin -c isolinux/boot.cat -o /tmp/test.iso -V "test Linux" -no-emul-boot -boot-load-size 4 -boot-info-table .
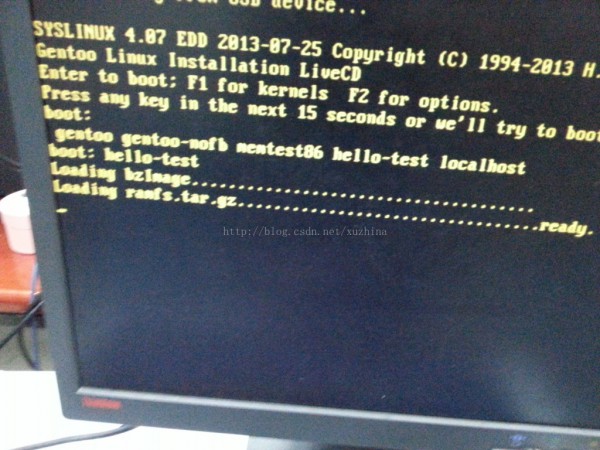
6.把test.iso直接用虛擬機(jī),或刻錄下去,進(jìn)入啟動(dòng)界面時(shí),按TAB鍵,可以看到hello-test這1項(xiàng),輸入它,啟動(dòng):
生活不易,碼農(nóng)辛苦
如果您覺得本網(wǎng)站對您的學(xué)習(xí)有所幫助,可以手機(jī)掃描二維碼進(jìn)行捐贈(zèng)


