Android開發系列(二十四):Notification的功能與用法
來源:程序員人生 發布時間:2014-11-20 08:57:45 閱讀次數:3178次
關于消息的提示有兩種:1種是Toast,1種就是Notification。前者保持的時間比較短暫,后者保持的時間比較長。
而且我們平常手機的利用比如網易、貼吧等等都有很多的推送消息,就是用Notification實現的。
Notification是顯示在手機狀態欄的通知―手機狀態欄位于手機屏幕的上方。程序1般通過NotificationManager服務來發送Notification通知
Notification的1些方法,接下來我們都能夠用到:
setDefaults():設置通知LED等、音樂、震動等等。
setAutoCancel():設置點擊通知后,狀態欄自動刪除通知。
setContentTitle():設置通知的標題
setContentText():設置通知的內容
setTicker():設置通知的提示信息
setSmallIcon():為通知設置圖標(注意這個方法第3個是i的大寫,不是L的小寫)
發送Notification的步驟:
1、調用getSystemService(NOTIFICATION_SERVICE)方法獲得系統的Notification Manager服務
2、通過構造器創建1個Notification對象。
3、為Notification設置各種屬性。
4、通過NotificationManager發送Notification。
在這里,我們要注意1點要在AndroidManifest.xml文件中添加幾個權限:
<!-- 添加操作閃光燈的權限 -->
<uses-permission android:name="android.permission.FLASHLIGHT" />
<!-- 添加操作振動器的權限 -->
<uses-permission android:name="android.permission.VIBRATE" />
接下來,我們通過具體的代碼來講明。
main.xml:
<span style="font-size:14px;"><?xml version="1.0" encoding="utf⑻"?>
<LinearLayout xmlns:android="http://schemas.android.com/apk/res/android"
android:orientation="horizontal"
android:layout_width="fill_parent"
android:layout_height="fill_parent"
android:gravity="center_horizontal"
>
<Button
android:layout_width="wrap_content"
android:layout_height="wrap_content"
android:text="發送Notification"
android:onClick="send"
/>
</LinearLayout>
</span>
這里設置了1個按鈕,點擊會發送通知
然后,我們看下NotificationTest.java的代碼:
<span style="font-size:14px;">package cn.notificationtest.com;
import cn.notificationtest.com.R;
import android.app.Activity;
import android.app.Notification;
import android.app.NotificationManager;
import android.app.PendingIntent;
import android.content.Intent;
import android.net.Uri;
import android.os.Bundle;
import android.view.View;
public class NotificationTest extends Activity
{
static final int NOTIFICATION_ID = 0x123;
NotificationManager nm;
@Override
public void onCreate(Bundle savedInstanceState)
{
super.onCreate(savedInstanceState);
setContentView(R.layout.main);
// 獲得系統的NotificationManager服務
nm = (NotificationManager)
getSystemService(NOTIFICATION_SERVICE);
}
// 為發送通知的按鈕的點擊事件定義事件處理方法
public void send(View source)
{
// 創建1個啟動其他Activity的Intent
Intent intent = new Intent(NotificationTest.this
, OtherActivity.class);
PendingIntent pi = PendingIntent.getActivity(
NotificationTest.this, 0, intent, 0);
Notification notify = new Notification.Builder(this)
// 設置打開該通知,該通知自動消失
.setAutoCancel(true)
// 設置顯示在狀態欄的通知提示信息
.setTicker("網易新聞")
// 設置通知的圖標
.setSmallIcon(R.drawable.notify)
// 設置通知內容的標題
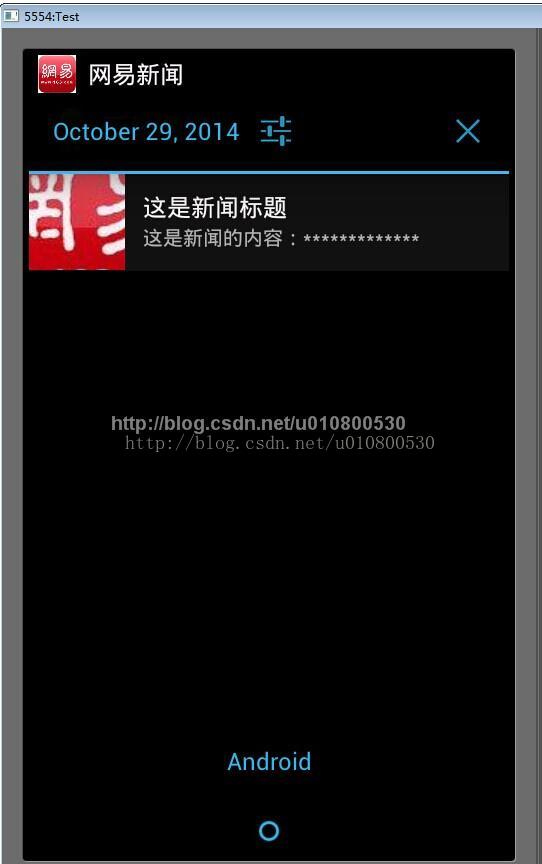
.setContentTitle("這是新聞標題")
// 設置通知內容
.setContentText("這是新聞的內容:*************")
// // 設置使用系統默許的聲音、默許LED燈
// .setDefaults(Notification.DEFAULT_SOUND
// |Notification.DEFAULT_LIGHTS)
// 設置通知的自定義聲音
.setSound(Uri.parse("android.resource://cn.notificationtest.com/"+R.raw.msg))
.setWhen(System.currentTimeMillis())
// 設改通知將要啟動程序的Intent
.setContentIntent(pi).getNotification();
// 發送通知
nm.notify(NOTIFICATION_ID, notify);
}
}</span>
在這個java文件中,我們通過構造器創建了1個Notification對象。然后為Notification設置各種屬性。最后通過NotificationManager發送Notification。
(這里需要注意的1點是,我們定義的聲音,圖標甚么的都是個人創建)
通過上邊的java代碼,我們創建了1個Intent對象,可以通過這條通知,切換到另外的1個Activity界面:OtherActivity
<span style="font-size:14px;">/**
*
*/
package cn.notificationtest.com;
import cn.notificationtest.com.R;
import android.app.Activity;
import android.os.Bundle;
public class OtherActivity extends Activity
{
@Override
public void onCreate(Bundle savedInstanceState)
{
super.onCreate(savedInstanceState);
//設置該Activity顯示的頁面
setContentView(R.layout.other);
}
}
</span>
效果圖以下所示:
生活不易,碼農辛苦
如果您覺得本網站對您的學習有所幫助,可以手機掃描二維碼進行捐贈


